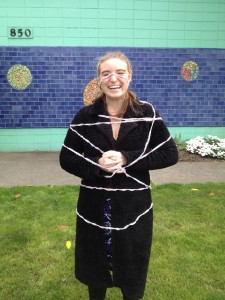
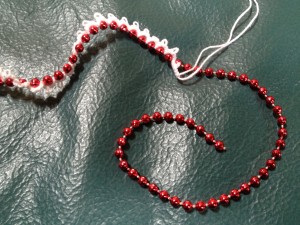
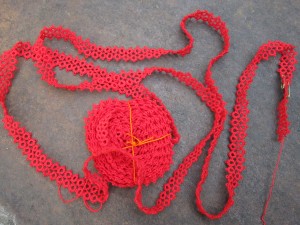
 I’m making this one all in red and because I’ve been spending a lot of time watching lectures while studying for the CPA exams I’ve made quite a bit of progress on it. Â It’s nice when studying involves tatting. Â It’s much easier to get started for the day if I start with watching the lectures and tatting and can more quietly slip into the harder stuff (actually working the homework problems) a little later.
The original Priscilla pattern called for doing this with a single shuttle. Â Make the center ring, make the rings along one side, and then come back around the other side leaving a bare thread on the back side between the flowers. Â Nowdays we have split rings, so that whole thing can be done in one pass. Â Here’s my modernized version:
Use two shuttles wound continuously. Â
With shuttle 1:
R 2(-2)x8
Shuttle join to the last picot of the ring just made.
*R 2-4-4-2
Shuttle join to the next picot of the ring.
R 2+6-6-2, join is to the last picot of the previous ring.
Shuttle join to the next picot of the ring.
Repeat from * 2 times more.
R 2-4-4-2
With both shuttles:
Split ring of  2+6/2+6 the joins are to the open (lower) picots of the rings around this one.
**Split ring of  6-2/6-2
R 2(-2) x8, this can be done with either shuttle.
With either shuttle:
***Shuttle join to the last picot of the ring just made.
R 2-4-4-2
Shuttle join to the next picot of the ring.
R 2+6-6-2, join is to the last picot of the previous ring.
Shuttle join to the next picot of the ring.
R 2-4-4-2
Shuttle join to the next picot of the ring.
With the other shuttle, Repeat from *** on the other side of the ring.
Split ring of  2+6/2+6 the joins are to the open (lower) picots of the rings around this one.
Repeat from ** until desired length is reached.
Hopefully that’s not too confusing with the 3 different repeats.
One of the big “discoveries” of playing around with the patterns in the Priscilla book was finding these patterns that call for making a series of rings with a single shuttle that are joined BETWEEN the rings to a row of picots (either on another ring or on a chain) below them. Â It’s such a neat idea for traveling with a series of rings and I like that you can’t see the bare threads at all. Â I admit that I don’t explore pattern books as much as I should, but I don’t recall seeing this sort of thing anywhere else.
I also love edgings that are both symmetrical AND can be done in one pass. Â I’m thinking this would make a nice belt. Â I haven’t made one of those for a while.
I’ve started another version of this in green and red that uses single shuttle split rings to put the red in the center of each flower, but I don’t have pictures, so I’ll save that to share on another day. Â I’m also working on diagramming this one out, but I don’t have it done yet, so that also will have to wait for another day.
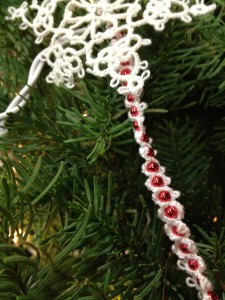
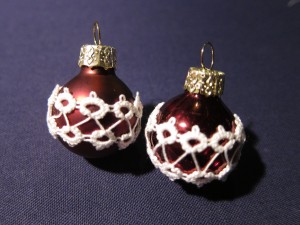 Last year I picked up these little red ornaments and I’m finally getting around to playing with them. Â I should have included something in the picture to show the size, but they’re about an inch at the widest. Â There’s 27 in the set, but so far I’ve only covered 3 of them. Â I think I’m just going to do this same basic pattern on all of them. Â They’re way too small to put on a normal sized tree, but would look nice on a little tabletop-sized tree.

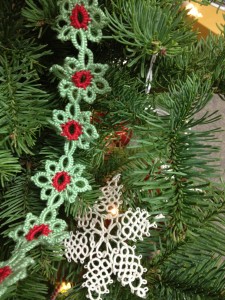
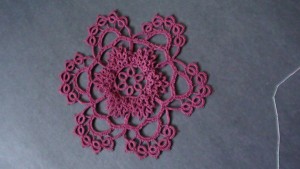
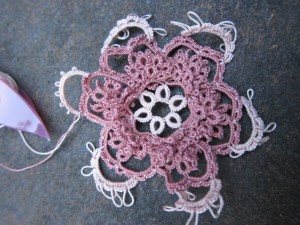
 Â Since I’m starting to feel like my study schedule is under control I’m going to dive into a goal I’ve been wanting to set ever since I got moved up to Seattle. Â In an attempt to sort through the UFOs (UnFinished Objects) I’m going to attempt to finish project every week. Some of these projects will need more tatting, some just need the finished piece to be sewn up or the ends to be hidden.
 Since I’m starting to feel like my study schedule is under control I’m going to dive into a goal I’ve been wanting to set ever since I got moved up to Seattle.  In an attempt to sort through the UFOs (UnFinished Objects) I’m going to attempt to finish project every week. Some of these projects will need more tatting, some just need the finished piece to be sewn up or the ends to be hidden.
